Add or remove identities from an access model
When an active Identity is added to an access model, they are considered "enrolled" in the access model. Identities are usually automatically enrolled based on the conditions defined within the Settings tab of the access model. For more information about changing the conditions of an access model, refer to Add or change conditions of an existing access model.
If you have a special project or situation, you can also manually add identities to the access model.
Note
If you've recently made a change to an identity and you're noticing the changes are not yet reflected in the access model, keep in mind that identities are automatically updated daily based on the schedule set up in the Settings tab of the Directory Source. If you'd like to see the changes immediately, update the directory source manually.
Manually add identities to an access model
To manually add an identity to an access model, complete the following steps:
- From the Access Models list, select the access model you want to change. The access model's detail page is displayed.
- Select the Enrollments tab. A list of identities is displayed.
-
Select the Add Manual Enrollment button. The Add Manual Enrollment window is displayed (see example below).

-
Enter information into each field as follows:
Field Description Identity Select the identity you want to add to the access model. Expiration Date Select this field to pick a date (month, day, and year) the enrollment will expire. To change the time, use the slider near the bottom of the calendar. 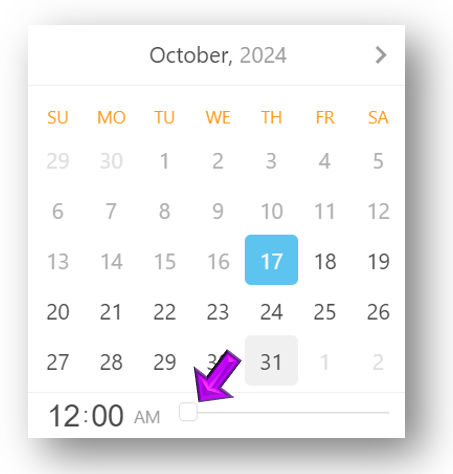
Reason Enter a reason for this person to be manually added to the access model. -
Select the Add button. The identity is added.
Remove identities from an access model
Identities that have been automatically added based on the rules defined within the Settings tab cannot be removed manually. Manually added identities will be automatically removed when their expiration date is reached. To remove a manually added identity before its expiration date, complete the following steps:
- From the Access Models list, select the access model you want to change. The access model's detail page is displayed.
- Select the Enrollments tab.
- Select the person you want to remove. The detail panel is displayed.
-
Select the Actions button in the upper right corner of the detail panel and pick the Delete option from the list.
Note
The Actions button will only be displayed if the Identity was manually added to the access model. It is not displayed for identities that are automatically enrolled based on matching criteria.
-
Type the word "Delete" and then select the Delete button. The identity is removed.