Create a new access model
If this is your first time creating new access models:
We recommend taking a quick moment to consider the following before you begin creating new access models:
-
What is your strategy?
When first starting out, we recommend starting very broadly. For example, many customers will start by creating access models that will capture the largest number of employees such as Loan Officers or Tellers, and then - over time - gradually work toward access models that are more specific such as "Remote Access" or "Teller Supervisors", and so on.
Note
Access models are critical if you are using the Operations module within Permission Assist; they'll be used to determine which applications and permissions people are given if they are hired, if they transition to a new job position, and so on. We recommend planning to spend a little more time up front to ensure your access models are set up to the level of granularity that will make these processes accurate and efficient.
-
After your access models are set up, what is your maintenance process?
Change happens - you might replace outdated systems, vendors may introduce new modules and permissions to existing applications, job responsibilities may evolve, or you may add new applications into Permission Assist. Deciding how often you want to update access models and who will be maintaining the access model can help to streamline the process.
To create a new access model, complete the following steps:
From the Access Models list, select the Create Access Model button near the top right corner of the page (see example below).
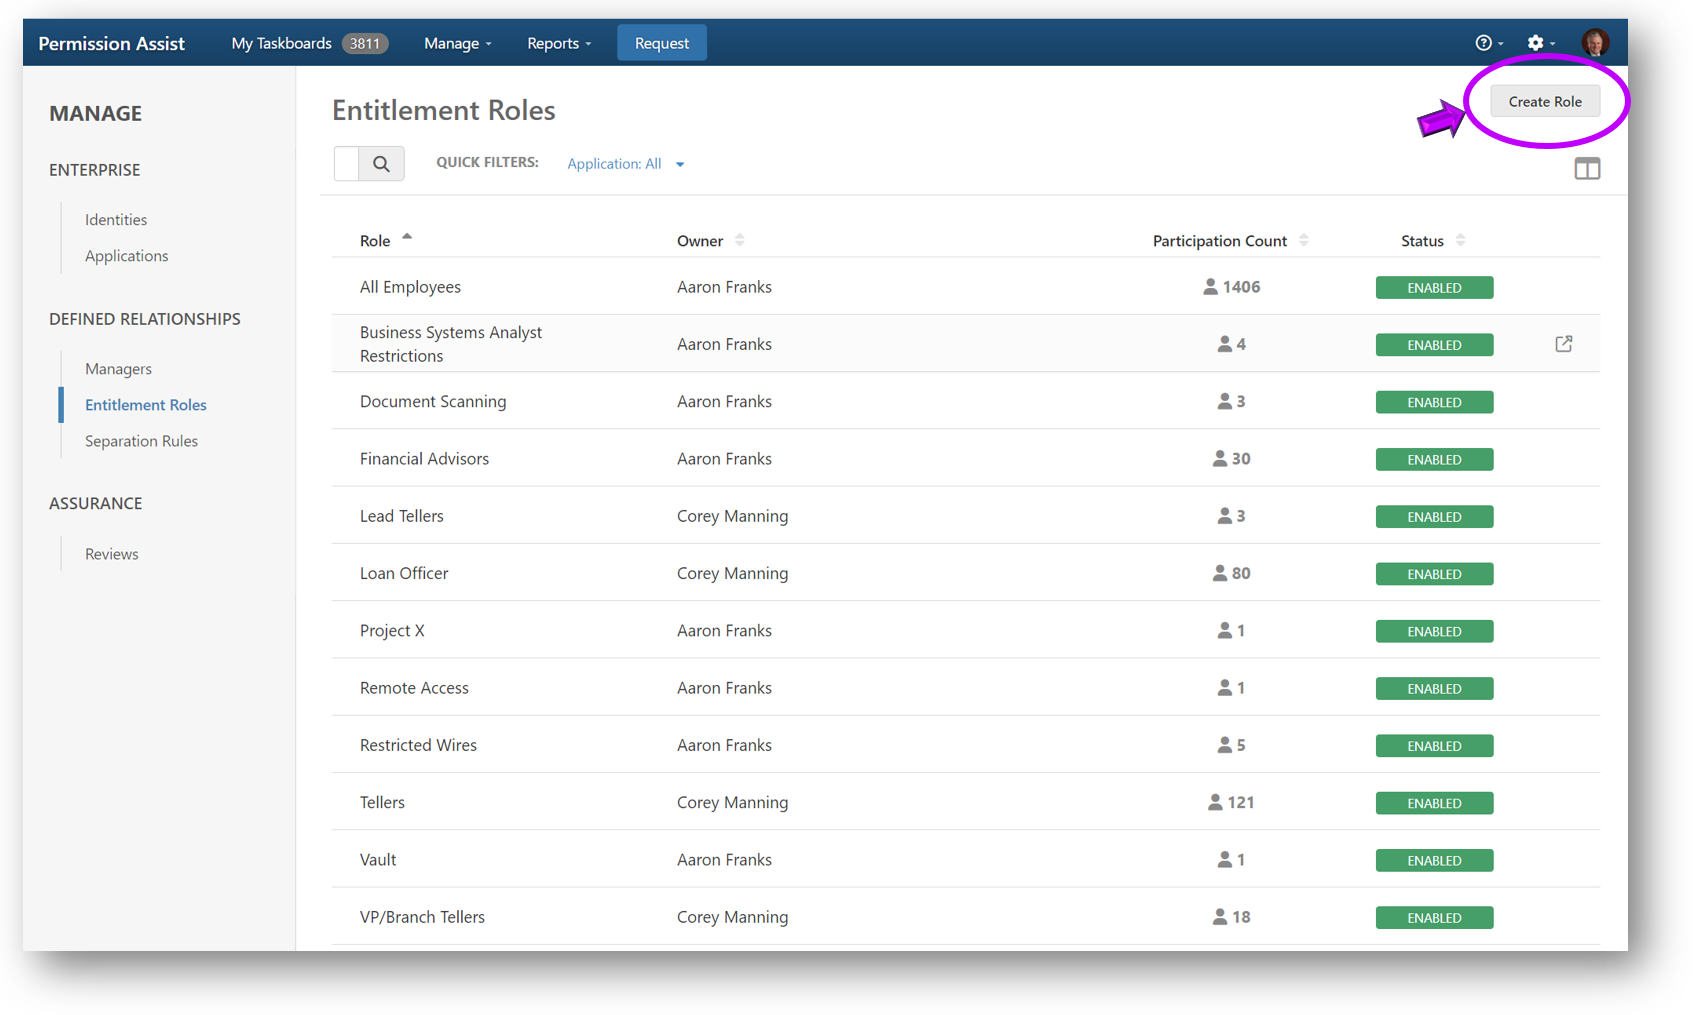
The Creating an Access Model page is displayed and Permission Assist walks you through a series of questions to help you create the access model. Refer to the sections below for more information about each step.
Name
| Question/Option | Description |
|---|---|
| Enter a short, easily understood, display name. | Allows you to enter a short name for the access model. After entering a name, select the Continue button to proceed to the next step, "Describe". |
Describe
| Question/Option | Description |
|---|---|
| Briefly explain what access the access model provides. | This area allows you to enter a longer more descriptive explanation of who the access model is for, the reason for the access model, or the access it defines. After entering a description, select the Continue button to proceed to the next step, "Owner". |
Owner
| Question/Option | Description |
|---|---|
| Who will be managing this access model? | Within Permission Assist, an access model owner may not always be the one making decisions about every application within the access model, but they are the person ultimately responsible for making sure the access model is set up and properly managed. For example, the owner may have application owners or a "change management committee" decide which permissions are allowed or denied for each application. In these cases, the access model owner would still oversee the process and make sure the access models are properly defined, committed, and enabled within Permission Assist. Select this field and pick an owner from the list. After picking the owner, select the Continue button to proceed to the next step, "Enrollment". |
Enrollment
| Question/Option | Description |
|---|---|
| Define the conditions that an identity must match to be part of this access model. | This area allows you to determine how the conditions will be defined. Select one of the following options: |
| Option | Description |
|---|---|
| Create from Scratch | If this option is selected, the access model won't have any existing conditions - you'll define each of the conditions that will determine who is enrolled. After selecting this option, select the Continue button. A new area appears, allowing you to define the conditions of the access model. 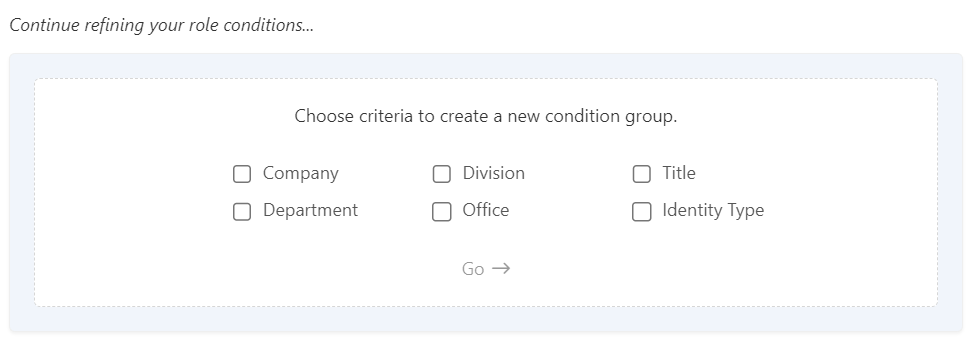 To add new conditions, complete the following steps: 1. By default, identities will be automatically enrolled when the conditions are met. If you'd like to approve Identities to be optionally enrolled based on the conditions, select the automatically enrolled field and pick approved for optional enrollment. To add new conditions, complete the following steps: 1. By default, identities will be automatically enrolled when the conditions are met. If you'd like to approve Identities to be optionally enrolled based on the conditions, select the automatically enrolled field and pick approved for optional enrollment. 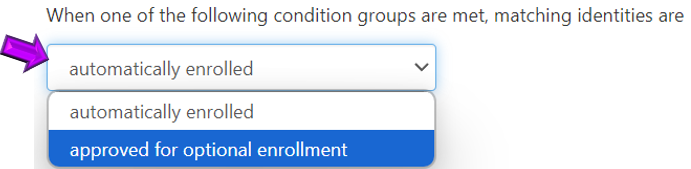 2. Select a condition option (Company, Division, Title, Department, etc). This will determine which conditions must be met for Identities to be enrolled. For example, if the "Title" option is selected, Identities will be enrolled based on whether their job title matches the selected job title(s). 3. Select Go. A new criteria area is displayed. 2. Select a condition option (Company, Division, Title, Department, etc). This will determine which conditions must be met for Identities to be enrolled. For example, if the "Title" option is selected, Identities will be enrolled based on whether their job title matches the selected job title(s). 3. Select Go. A new criteria area is displayed. 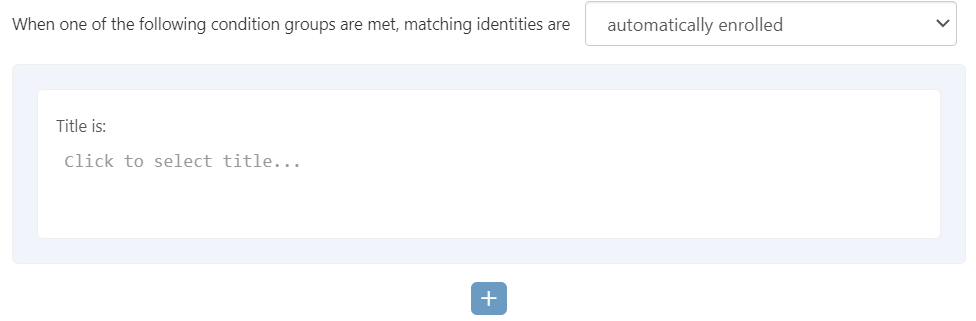 4. Select the Click to select ... field and pick a criteria option from the list. TIPS: If the criteria doesn't already exist, type a new one (and verify spelling is accurate). You can add multiple criteria (for example, if you're creating a job title condition, you can add more than one job title). If multiple criteria of the same type are entered, an Identity would need to match both to be enrolled in the access model. 5. To add additional conditions, select the + button. Then repeat steps 2 through 4. 6. When all conditions have been added, select the Continue button to proceed to the next step, "Recommend". 4. Select the Click to select ... field and pick a criteria option from the list. TIPS: If the criteria doesn't already exist, type a new one (and verify spelling is accurate). You can add multiple criteria (for example, if you're creating a job title condition, you can add more than one job title). If multiple criteria of the same type are entered, an Identity would need to match both to be enrolled in the access model. 5. To add additional conditions, select the + button. Then repeat steps 2 through 4. 6. When all conditions have been added, select the Continue button to proceed to the next step, "Recommend". |
| Mirror an Identity | Select this option if you want Permission Assist to create a set of conditions based on an existing Identity. After selecting this option, complete the following steps: 1. Select the Continue button. The "Choose an identity..." field appears. 2. Select the Identity that will be used to define the conditions of the new access model. 3. Select the Continue button. A new area appears, showing the conditions of the access model which were created based on the selected identity. 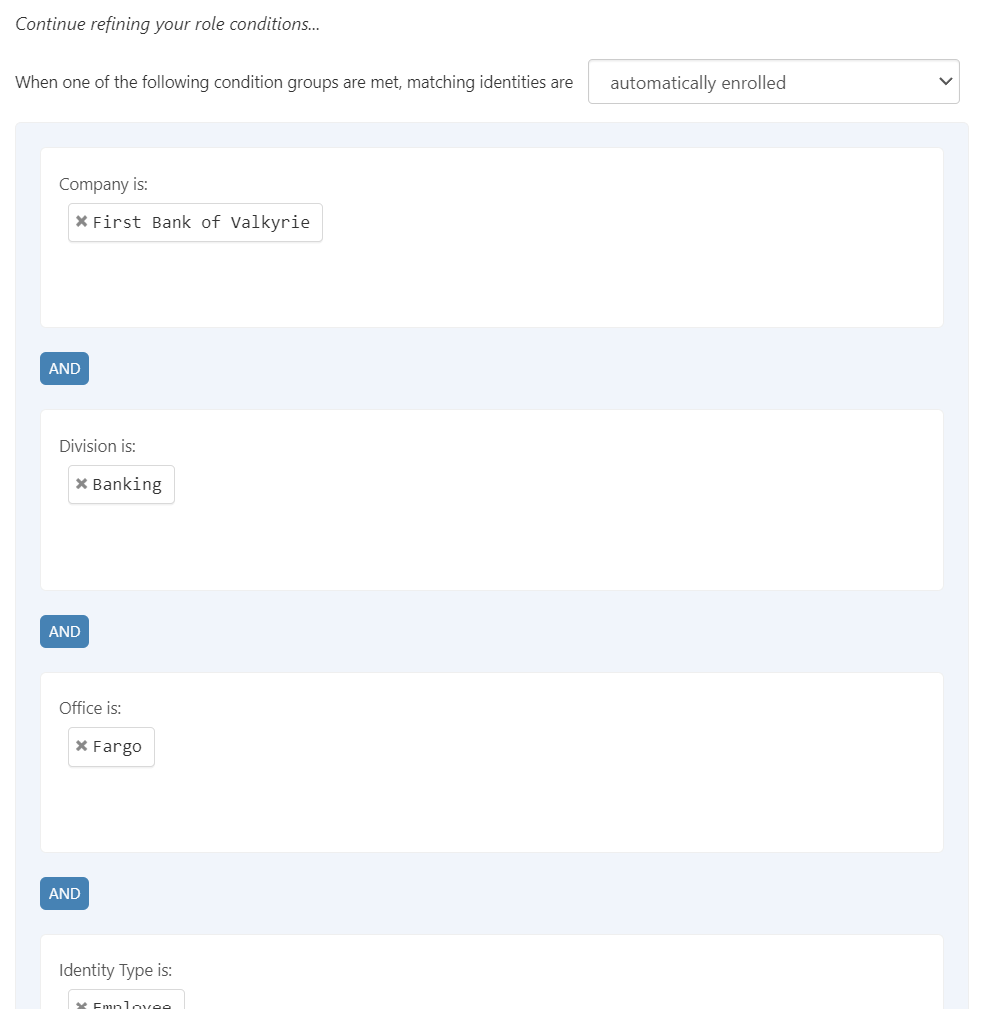 4. Add, change, or remove conditions as needed. 5. When all conditions have been added, select the Continue button to proceed to the next step, "Recommend". 4. Add, change, or remove conditions as needed. 5. When all conditions have been added, select the Continue button to proceed to the next step, "Recommend". |
| Copy an Existing Access Model | When selecting this option, Permission Assist will create a new access model with the exact same conditions as an access model that already exists. After selecting this option, complete the following steps: 1. Select the Continue button. The "Choose an existing access model..." field appears. 2. Select the access model that will be used to define the conditions of the new access model. 3. Select the Continue button. A new area appears, showing the conditions of the new access model which were created based on the selected access model. 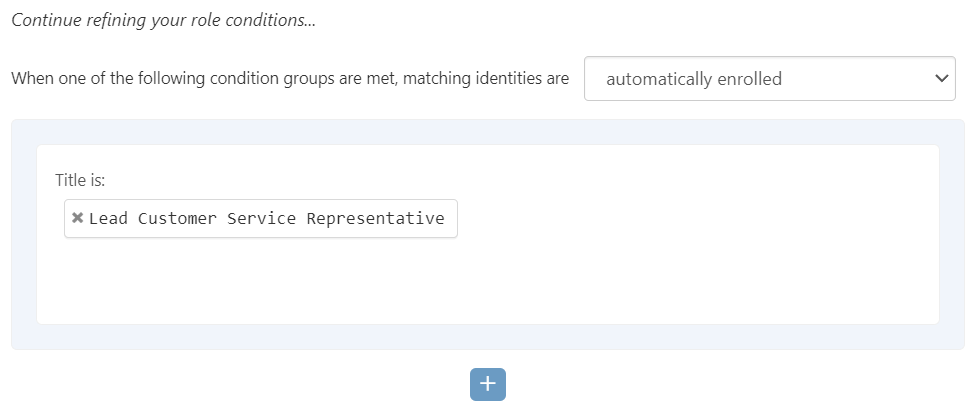 4. Add, change, or remove conditions as needed. 5. When all conditions have been added, select the Continue button to proceed to the next step, "Recommend". 4. Add, change, or remove conditions as needed. 5. When all conditions have been added, select the Continue button to proceed to the next step, "Recommend". |
Recommend
| Question/Option | Description |
|---|---|
| Do you want Permission Assist to automatically recommend ideal access? | Select one of the following options: |
| Option | Description |
|---|---|
| Yes | Select this option if you want Permission Assist to make recommendations about which applications and permissions should be allowed based on usage. |
| No | Select this option if you want to start with a clean slate. When this option is selected, you'll need to add applications and allow permissions manually. Selecting this option is helpful when you've already defined ideal access and want to reflect that within Permission Assist. |
After making a selection, select the Continue button to proceed to the next step, "Submit".
Submit
When all steps have been completed, select the Submit button on the right side of the page to create the new access model based on the information entered.
After the access model is created, the Access Models / Details page is displayed, which allows you to:
- Add applications
- Allow or deny permissions
- Change settings
- Manually enroll people in the access model
When the access model is ready to be used for personnel events and within reviews, enable it.