General settings
The General Settings page within the System Configuration area allows you to define information that is broadly used within Permission Assist, such as the name of your financial institution, your time zone, and more. Descriptions of each tab and the information that can be defined within are provided below.
Company tab
| Field | Description |
|---|---|
| Company Name | Enter the name of your organization as you want it to appear throughout the system and on reports (up to 200 characters) |
| Default Company Time Zone | Select this field and then select a time zone |
Display options tab
Environment
| Field | Description |
|---|---|
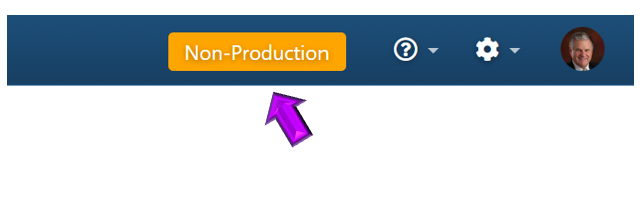
| Banner | This field is optional and may be used to add a visual indicator displayed at the top of Permission Assist. This is helpful if you have, for example, both a test and a production instance. Enter a label of up to 20 characters. After selecting Save, the label appears immediately in orange at the top of Permission Assist. |
Identities
| Option | Description |
|---|---|
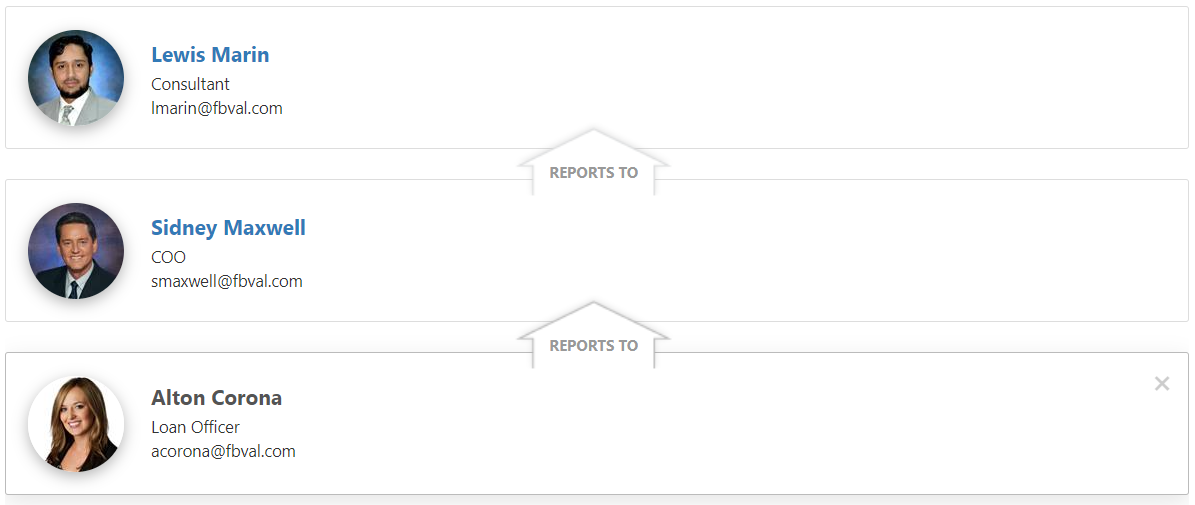
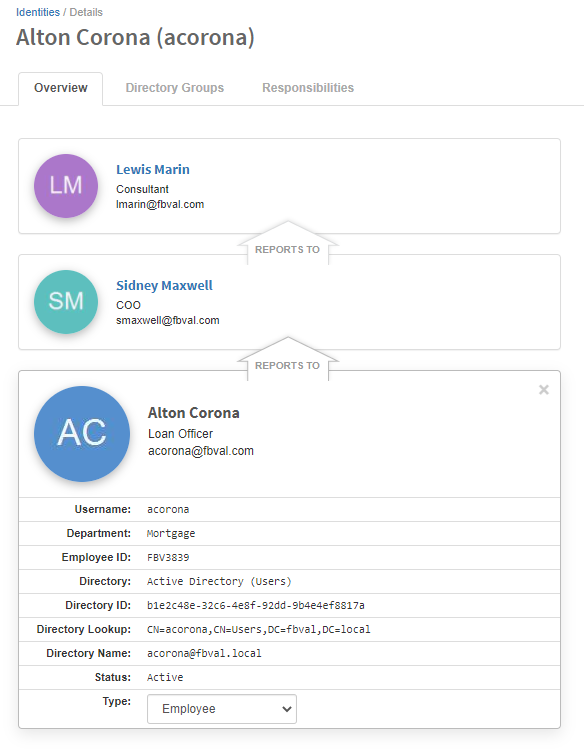
| Display directory profile images | Using profile images can help you put a face to the name. To use profile images, select this option. If your primary identity store (which is typically Active Directory) contains personalized images for each identity, those images are shown throughout Permission Assist. See the sample images below. If personalized images are not available, the identity's initials are used by default. |
| Display full directory user names | If you have multiple directory services, this option may be used to help you distinguish between users of different domains. Using this option can be especially helpful if you have employees that work at multiple domains or if you have people with similar names in multiple domains. If this option is selected, you see each user's long/unique name rather than the short version. |
Sample 1 -- Profile images in list view:
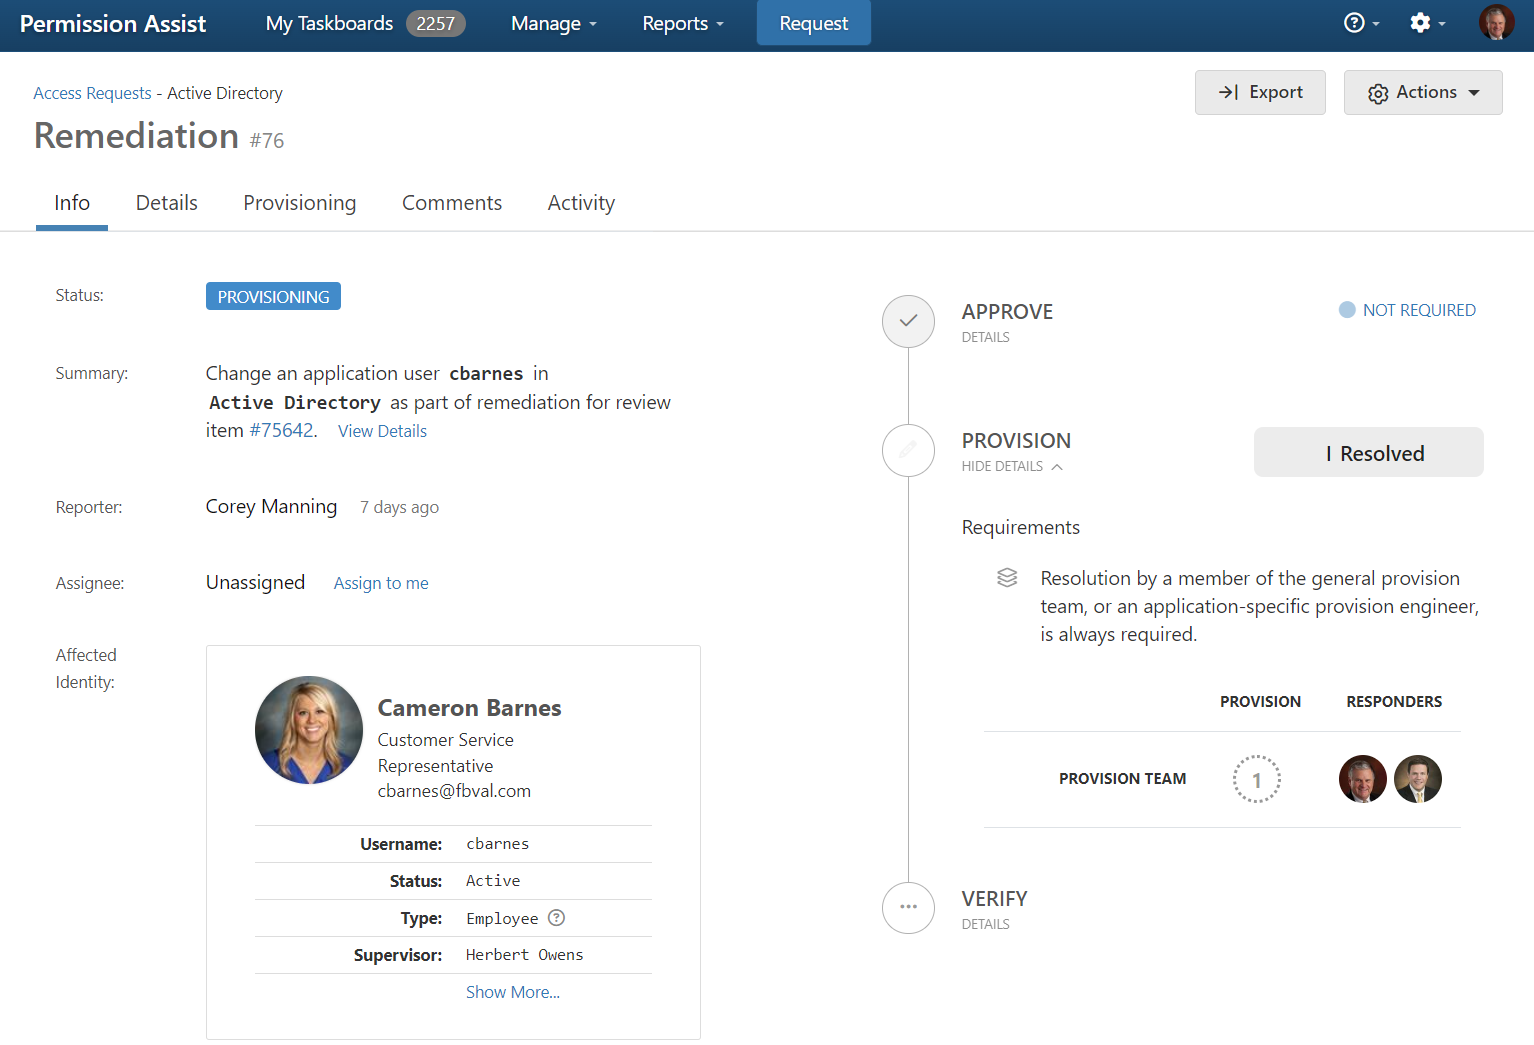
Sample 2 -- Profile images in detail view:
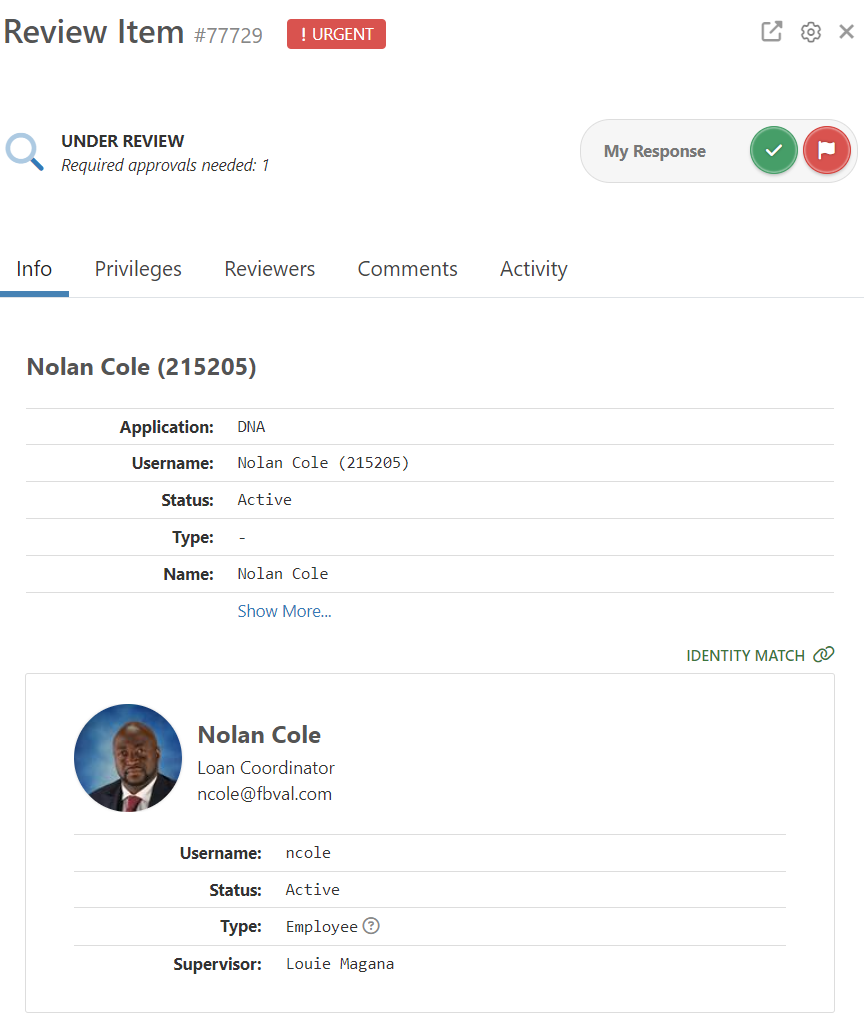
Sample 3 -- Profile images in review:
Default initials when no profile image is available:
System recovery tab
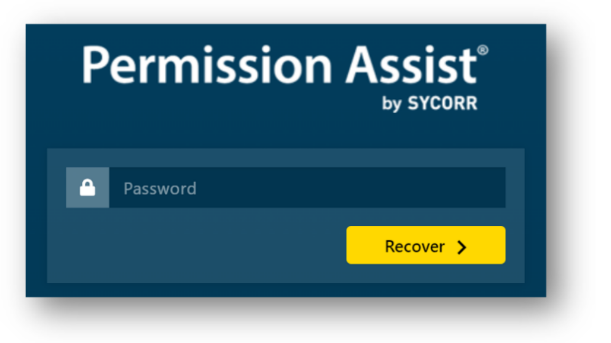
Recovery password
The recovery user name and password provide Administrator access to Permission Assist. They are meant to be used temporarily and only when:
- Initially setting up Permission Assist
- You are not able to log into Permission Assist using your regular user name and password because the connection between your primary directory source (such as Active Directory) and Permission Assist was somehow disconnected
The recovery user name is pa-admin. By default, the password is set to continuous. We recommend changing this password as soon as possible after installing Permission Assist. To change the recovery password, complete the following steps:
- Select the Change Password button. The Password and Confirm Password fields appear.
- Enter the new password in both fields and select Save. The recovery password is changed.
Warning
- Store this new password in a safe and secure location
- Continuous does not have access to this password and cannot recover it for you if it is lost
Resetting the pa-admin password when using forced SSO
If you are using forced SSO and you need to log in using the recovery password, complete the following steps:
- Enter the Permission Assist URL in the address bar at the top of your browser and then add
/account/recoverto the end of the URL. For example, if your Permission Assist URL ishttps://reviews.yourbank.com, you would enterhttps://reviews.yourbank.com/account/recover. -
After pressing the Enter key, the account recover login page appears.
-
Enter the
pa-adminpassword. You are logged into Permission Assist as an Administrator.
SMTP tab
This tab displays the SMTP connection details that Permission Assist uses to send automatic email notifications.
Note
- Your Permission Assist application server must be allowed to reach
*.continous.com. - The ALL Emails option on this tab must be enabled.
The following connection details are displayed:
| Field | Description |
|---|---|
| From Address | The email address Permission Assist uses when sending automatic emails This is set to the following and cannot be changed: permissionassist@noreply.continuous.com |
| Host | The host address for the SMTP server. This is set to the following and cannot be changed: smtp.mailgun.org |
| Port | The port used by the SMTP server. This is set to 587 and cannot be changed. |
Enable or disable email notifications
To enable email notifications, select the All Emails Disabled option. The option changes to Enabled and email notifications are active.
To disable email notifications, select the Enabled option. The option changes to All Emails Disabled and all automatic emails are stopped.
Test email settings
To verify that SMTP settings are working correctly, complete the following steps:
- Select the Test button.
- Enter an email address in the Test Address field.
- Select the Send Test Emails button. Two emails are sent to the specified address:
- Email #1 verifies that the SMTP settings are correct
- Email #2 verifies the application is correctly running such that system-generated emails can be sent
Email sender properties
When you receive an email from Permission Assist, the sender properties are set as follows:
| Property | Value |
|---|---|
| from | permissionassist@noreply.continous.com |
| mailed-by | noreply.continous.com |
| signed-by | noreply.continous.com |
Reports tab
This tab allows you to change settings related to Permission Assist reports.
File security
When a PDF report is generated, Permission Assist saves the files with a random password so they cannot be edited. Auditors and examiners typically prefer this; however, if you are using reports for internal purposes or if you have processes that require the report to be modified in some way, you can change the password within the PDF Password field.
| Field | Description |
|---|---|
| PDF Password | Used to define the password for any PDF report that is generated within Permission Assist. By default, the password is a randomly generated password. To change the password, enter the new password or select the Generate password button to randomly generate a new password. |
Tip
Randomly generated passwords should pass most complexity policies and are created with extra care and consideration for Active Directory restrictions. They include a minimum of 12 alphanumeric characters, at least 2 upper-case alpha characters, at least 2 numbers, and at least 2 special characters.
API Keys tab
This tab allows you to create and manage API tokens that grant external systems programmatic access to Permission Assist. API tokens allow external systems to read, create, and modify data.
Create an API token
To create a new API token, complete the following steps:
- Select the Create Token button (
 ) in the upper right corner of the tab.
 - Enter a descriptive Name for the token (up to 100 characters). Use a descriptive name -- it may appear in activity logs alongside any changes made by this token.
- Optionally, enter an Expiration Date. Leave this field blank if the token should not expire.
- Select the Create button. The token is created and displayed.
Warning
Save the token immediately -- you will not be able to see it again after closing the window. Select the Copy button to copy the token to your clipboard.
Manage API tokens
The API Keys tab displays a list of all active tokens with the following information:
| Column | Description |
|---|---|
| Name | The descriptive name given to the token |
| Created | The date the token was created |
| Expiration | The date the token expires, or "Never" if no expiration was set |
| Last Used | The date the token was last used to access the API, or "Never" if it has not been used |
Delete an API token
To revoke an API token, select the delete button next to the token. Any systems using the token will immediately lose access. To confirm deletion, type DELETE in the confirmation field and select the Delete button.