View or Change Responsibilities
The Responsibilities tab is used to assign responsibilities to team members and define who should be notified when specific events happen.
To view the Responsibilities tab, complete the following steps:
-
From the Applications list, select the application you want to view or change. The Applications / Details page appears.
-
Select the Responsibilities tab. This tab allows you to:
Add or Remove Team Members From Responsibilities
Team members are people who have been added to added to the application as either an application manager or provision engineer. When an identity is added to a role, they become a team member of that role and are given the responsibilities associated with that role for the specific application. For example, if I add Sarah Jane to the Application Managers role for Active Directory, Sarah Jane is only able to perform application manager duties for Active Directory. She would not be an application manager for other applications unless she was also given responsibilities within those applications.
Select one of the following options for more information about each role:
-
 Application Managers
Any identity in Permission Assist can be given the responsibility of being an Application Manager within an application. As an Application Manager, they will have access to the following:
-
Review Items Taskboard – Application Managers have access to the Review Items Taskboard and can view/take action on items only for applications they manage.
-
Applications – Application Managers have access to the applications they manage within the Manage > Applications area and can import data if needed.
-
Access Models - Application Managers have access to access models if the applications they manage are included in an access model; they can allow or deny permissions and commit changes only for the applications they manage (not for the access models as a whole).
-
Change Management Taskboard – Application Managers will be able to see remediation access requests related to the applications they manage. They cannot complete access requests unless they either belong to the Provision Team, they are a Provision Engineer for a specific application, or they are required to verify the remediation access request before the request can be considered complete (defined in the System Configuration > Taskboards > Access Requests area).
-
Reports - Application Managers have limited access to generate reports for the applications they manage.
NOTE: Application Managers may have access to other features within Permission Assist if they also belong to another group.
-
-
Provision Engineers
In Permission Assist, Provision Engineers are people who have responsibilities related to access requests. People can be given Provision Engineers responsibilities by doing either of the following:
-
Assigning an identity to the Provision Team group within the System Configuration area.
Identities who are members of the Provision Team group have full access to the features within the Change Management Taskboard and are able to take action on access requests for all applications. They do not have access to any other features within Permission Assist unless they also belong to another group. For more information about Security Team members and what they can do, refer to the Administrator's Guide.
-
Giving someone Provision Engineer responsibilities within an application.
Identities who have been given provision engineer responsibilities for a specific application can only take action on access requests that relate to their assigned application(s). They cannot see or take action on any other access requests.
-
To add a team member, complete the following steps:
-
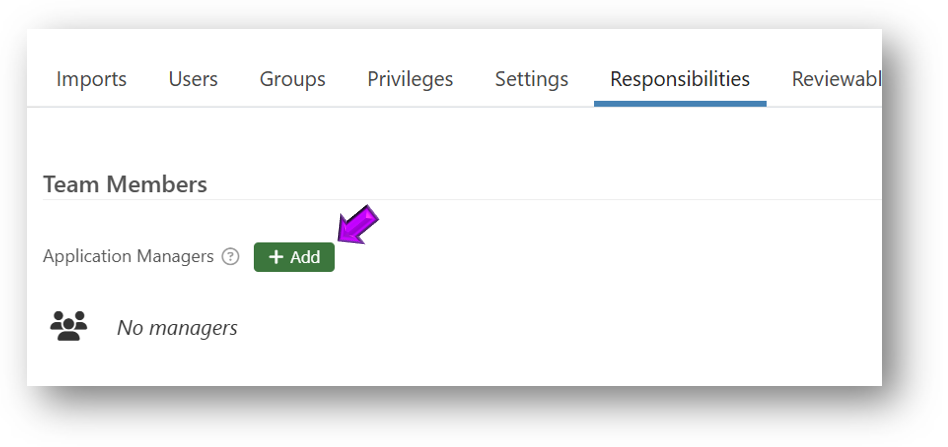
Point to the type of team member you want to add (Application Managers or Provision Engineers). The Add button appears.
-
Select the Add button (see example below).
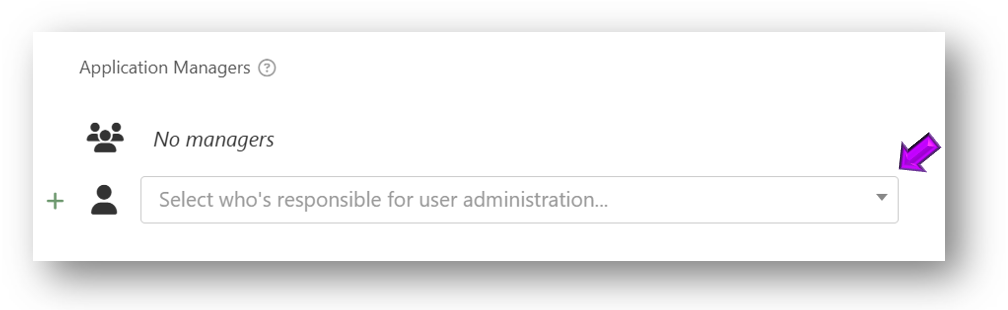
The "Select who's responsible..." field is displayed (see example below).
-
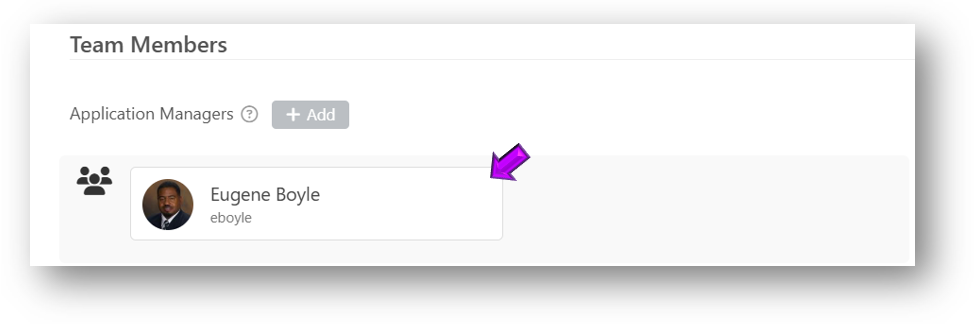
Select the Select who's responsible... field and pick an identity from the list. The identity is added and now has responsibility to act as the role to which they were assigned.
TIP: You can repeat this step to add additional identities to the role as needed.
To remove a team member, complete the following steps:
-
Point to the identity you want to remove.
-
Select the trash bin that appears in the upper right corner (see example below).
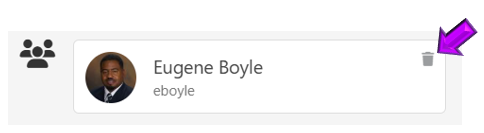
The identity is removed and no longer has responsibility to act as the role to which they were previously assigned.
Define Who Receives Event Notifications
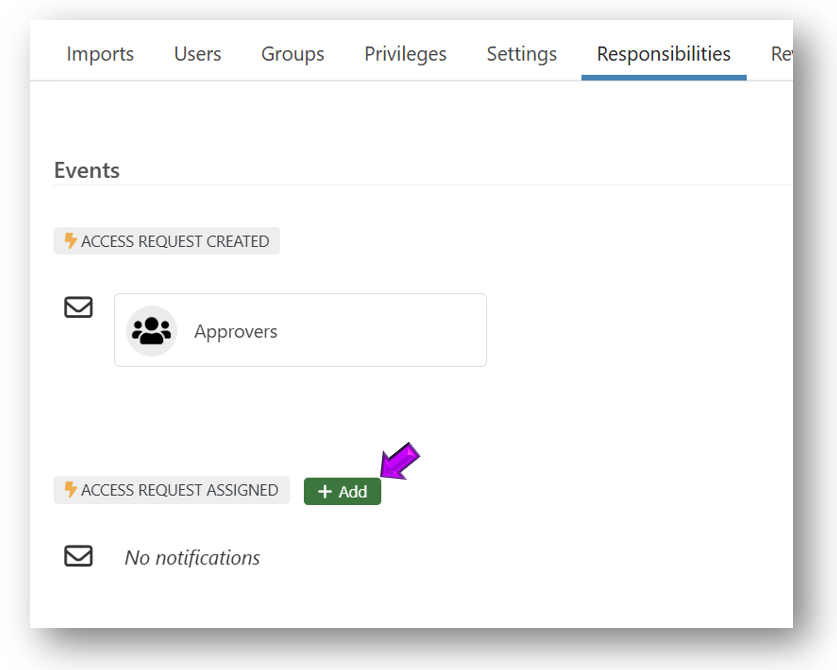
Events are moments in time when something happens in Permission Assist such as the moment an access request is created or the moment an access request is moved from an approved status to an assigned status, and so on. The Responsibilities tab allows you to specifically define who should receive notifications when an event happens.
Add a Notification
To add an event notification, complete the following steps:
-
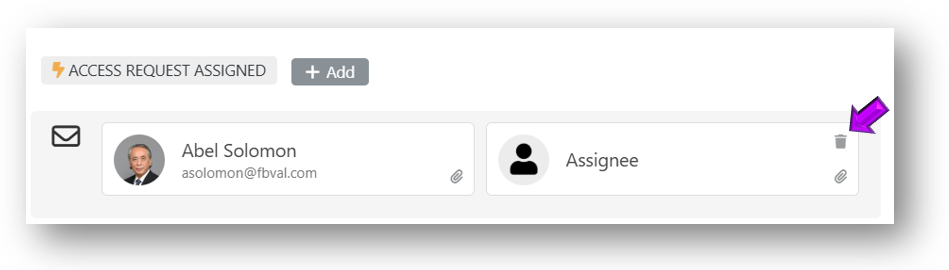
Point to an event. The Add button appears (see example below).
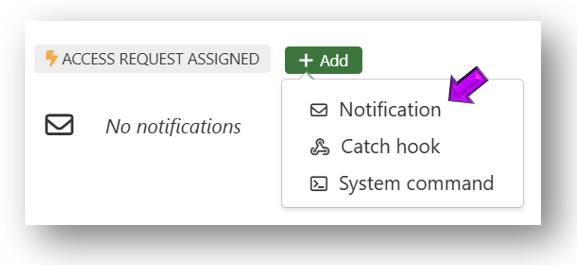
-
Select the Add button and pick Notification from the list (see example below).
A new field is displayed and the Application Managers option is selected by default (see example below).
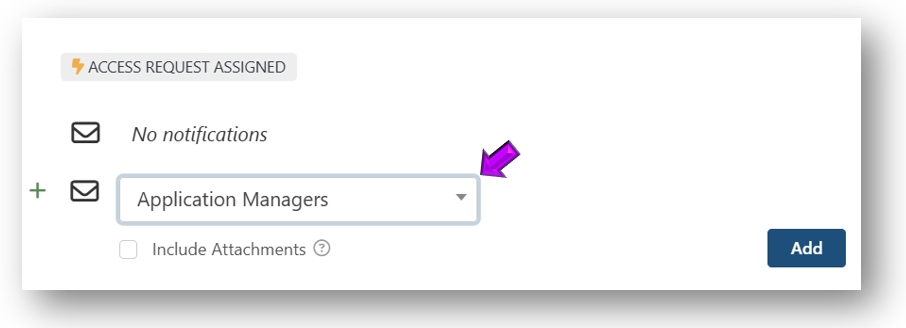
-
If you want the notification to go to a different team member, select the Application Managers field and pick a different option from the list. Options are organized under the following categories:
NOTE: The following options allow for flexibility in terms of who gets notified when an event occurs, but they do not authorize users to log into Permission Assist and view information they aren't already authorized to view. For example, if you send a department manager a notification when a personnel event is created, but the manager isn't a Personnel Manager, they will get the notification, but will not be able to log into Permission Assist and view the personnel event.
-
Application Specific Roles - these are roles that have been defined within the application's Responsibilities tab.
-
System Authorized Roles - these are roles that have been defined within the System Configuration > System Authentication area.
NOTE: Administrators cannot receive these types of notifications; they only receive specific notifications related to the administration and configuration of Permission Assist.
-
Access Request Responders - these are roles that have been defined within the System Configuration > Taskboards > Access Requests page.
-
Other - if the person or people you want to notify aren't in one of the other categories, you can use the options in this category to notify an individual identity or a specific email address.
-
-
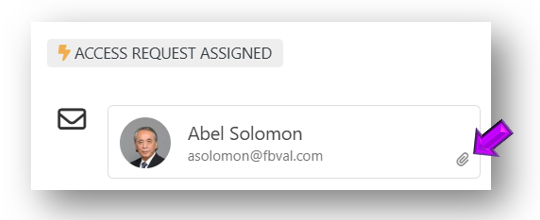
Select the Include Attachments option if you want to attach a detailed report of information within the email (see example below).
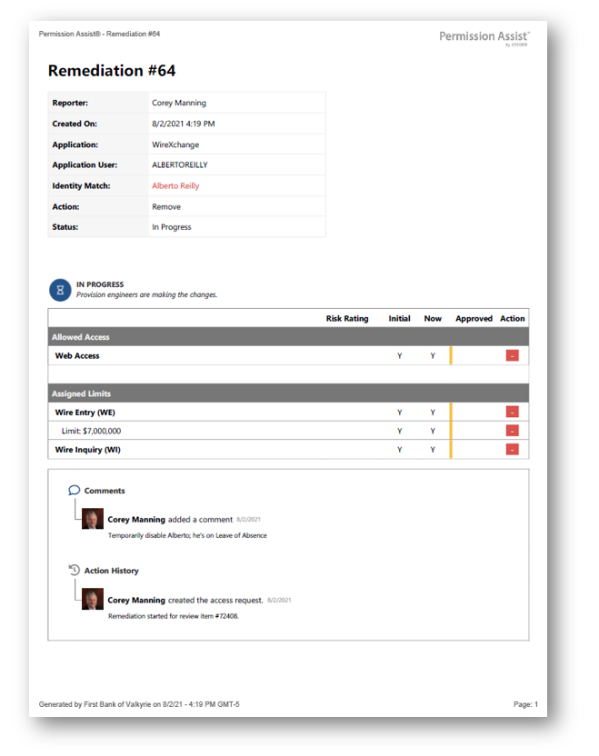
NOTE: This can be helpful if you're sending remediation notifications to an internal help desk team that doesn't have access to Permission Assist. Some events do NOT have reports that can be attached. To allow for flexibility, this option can be selected even if the event does not have a report to attach. In these cases, this option is ignored.
-
Select the Add button. The person or group of people are added. They will receive a notification when the event occurs. If the Include Attachments option was selected, a paper clip is displayed in the lower right corner (see example below).
Remove a Notification
To remove an event notification, complete the following steps:
-
Point to the person or group of people you want to remove.
-
Select the trash bin that appears in the upper right corner (see example below).
The person or people are removed and will no longer receive an email when the event occurs.